Product Details
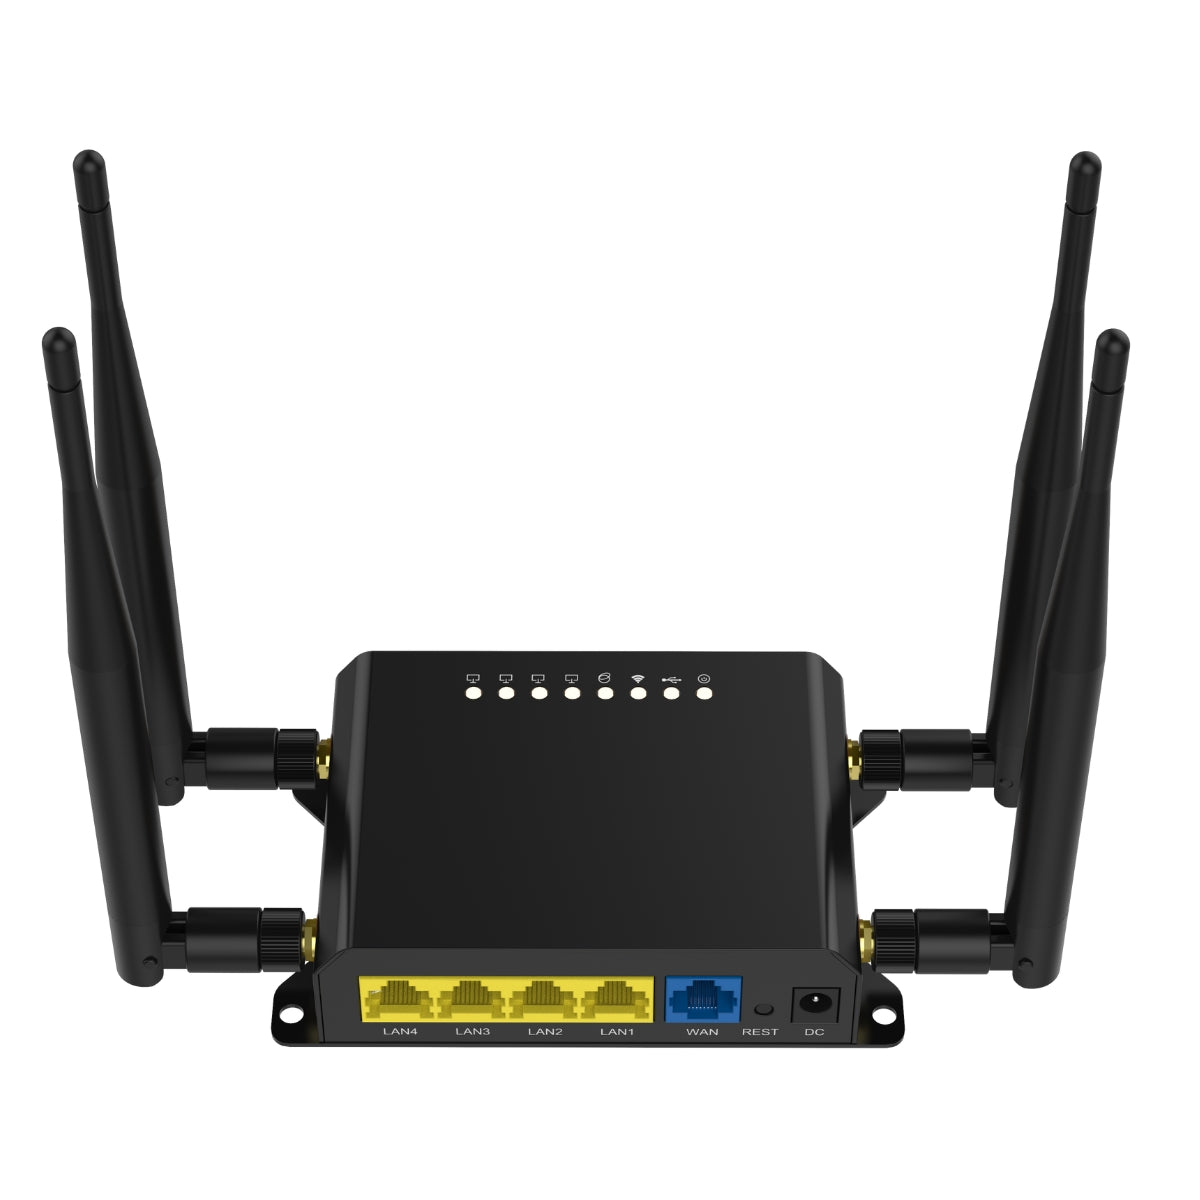
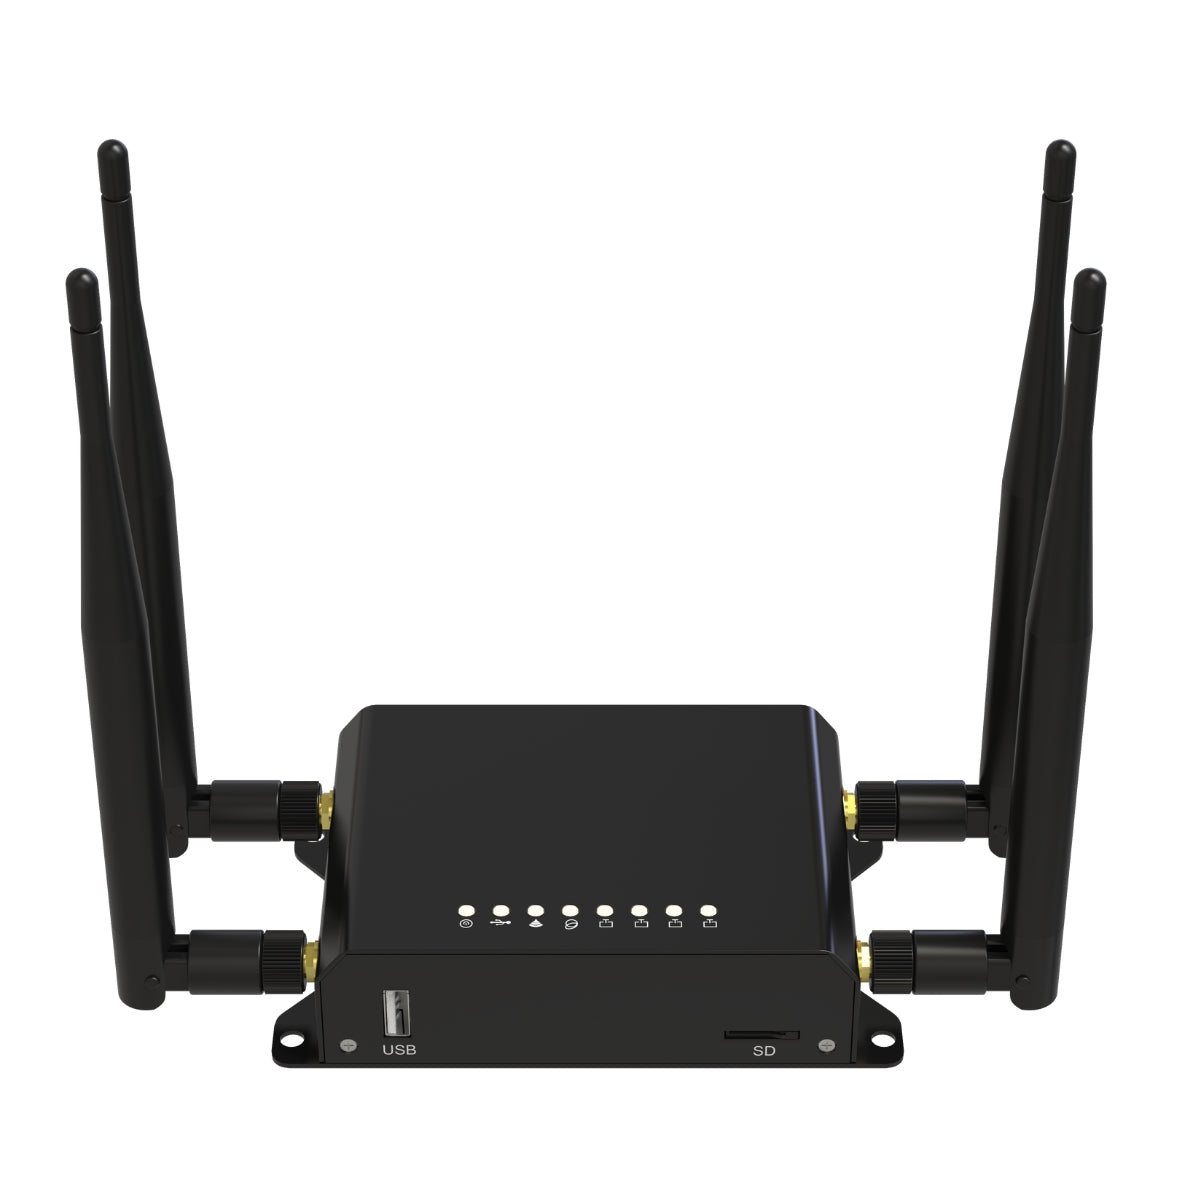
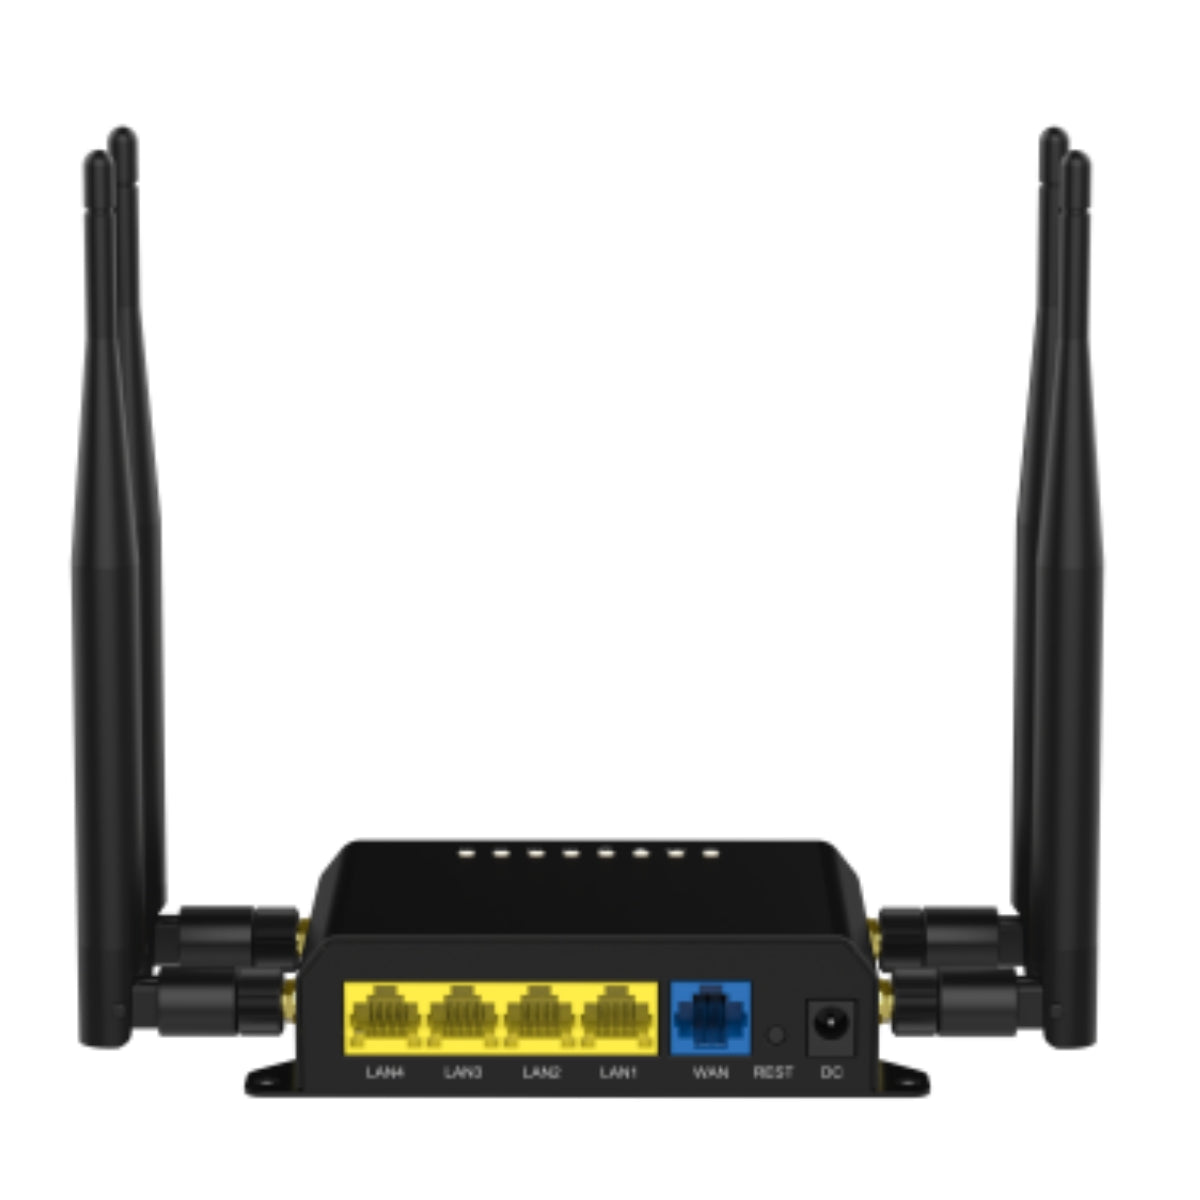
WiFiX NEXQ6GO Cellular Router
The WiFiX NEXQ6GO cellular router comes with our WiFiX version of GoldenOrb firmware preinstalled on the router.
Note: The NEXQ6GO has a different architecture than the WE826-T2. The NEXQ6GO uses the Qualcomm Atheros QCA9533 v2, where the WE826-T2 uses the MediaTek MT7620A chip. While similar in appearance, they are two different routers and the WiFiX firmware for each of these routers ARE NOT compatible with the other.
The NEXQ6GO and WiFiX firmware were designed to produce a moderately more stable 2.4GHz WiFi component with a noticeable increase in throughput--a theoretical transmission rate of 300Mbps.
The Ethernet ports and switch on this router are 100Mbit.
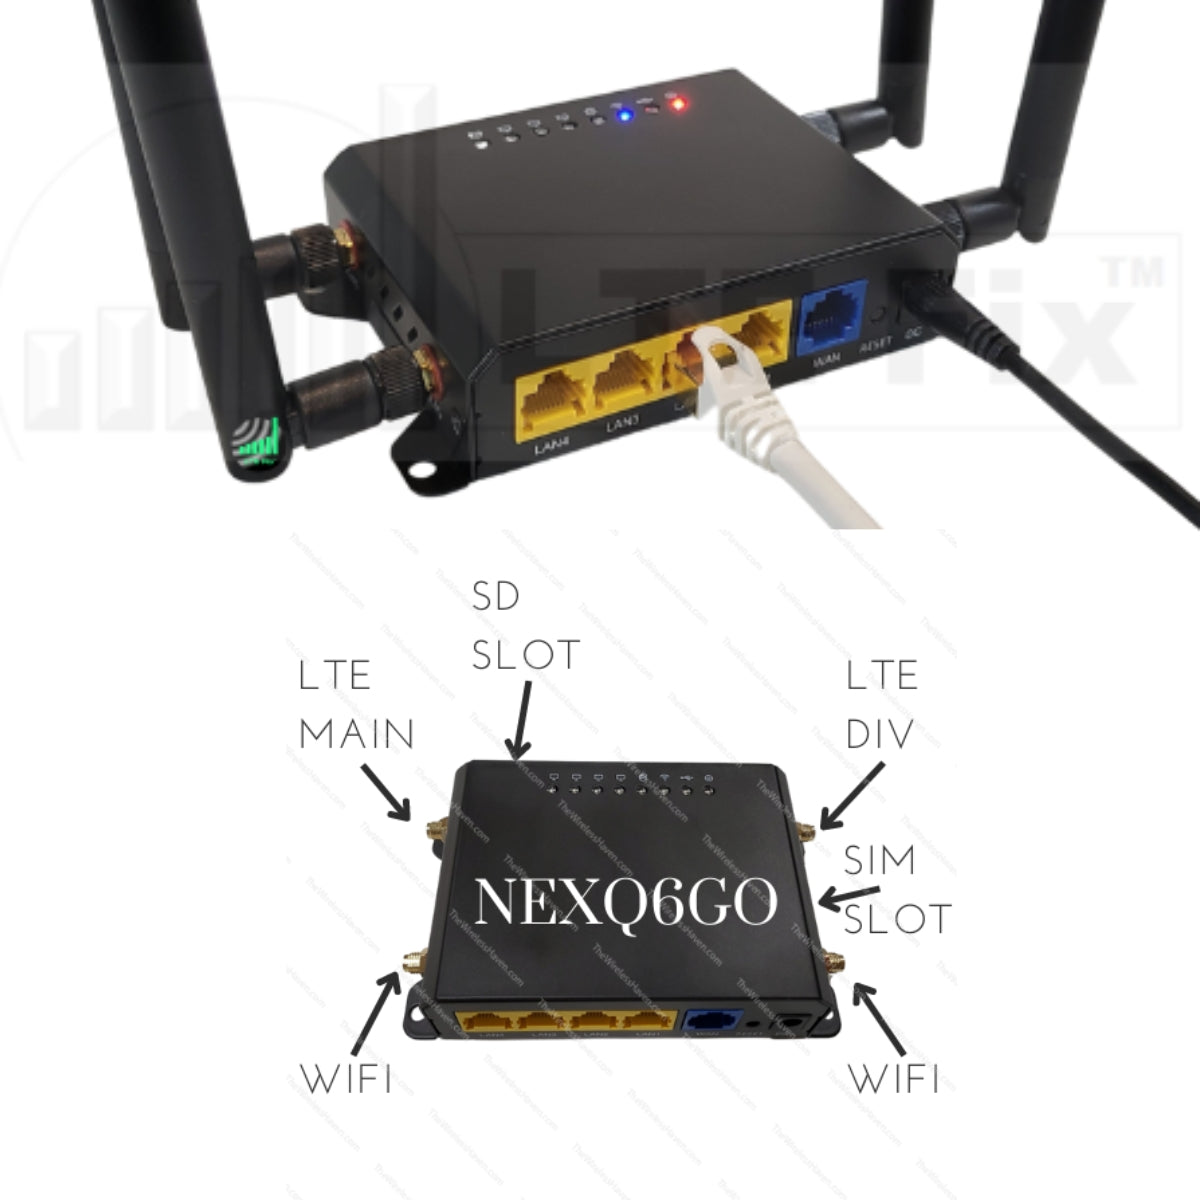
We are offering two versions of the NEXQ6GO, the NEXQ6GO-U and the NEXQ6GO-M. This will help our customers from having to separately order different pigtails in order to use a modem with a different type of connector ports.
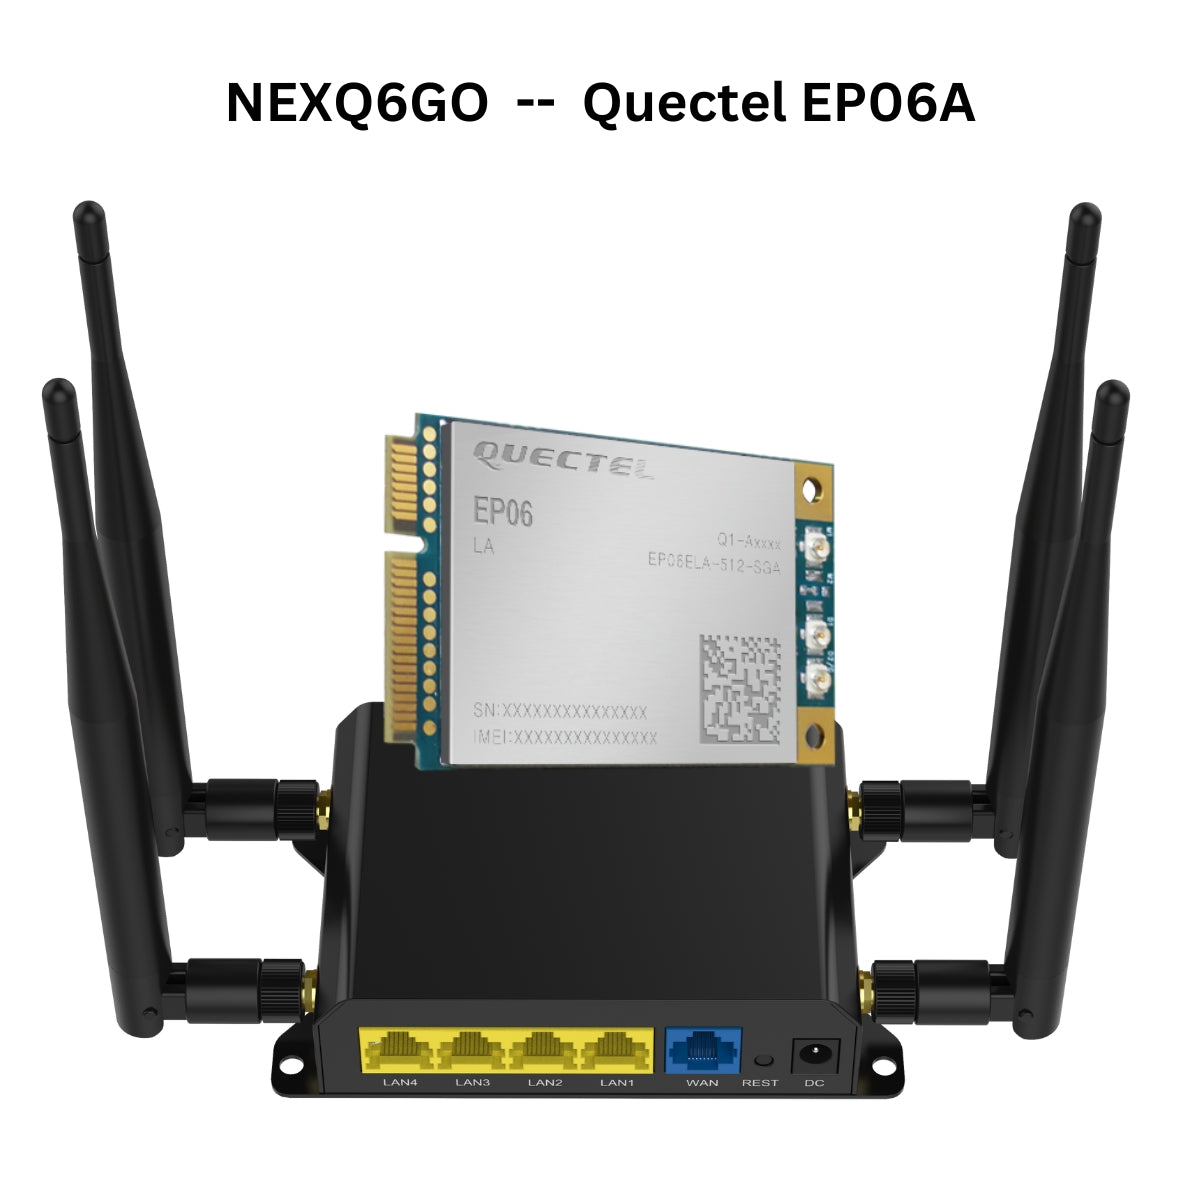
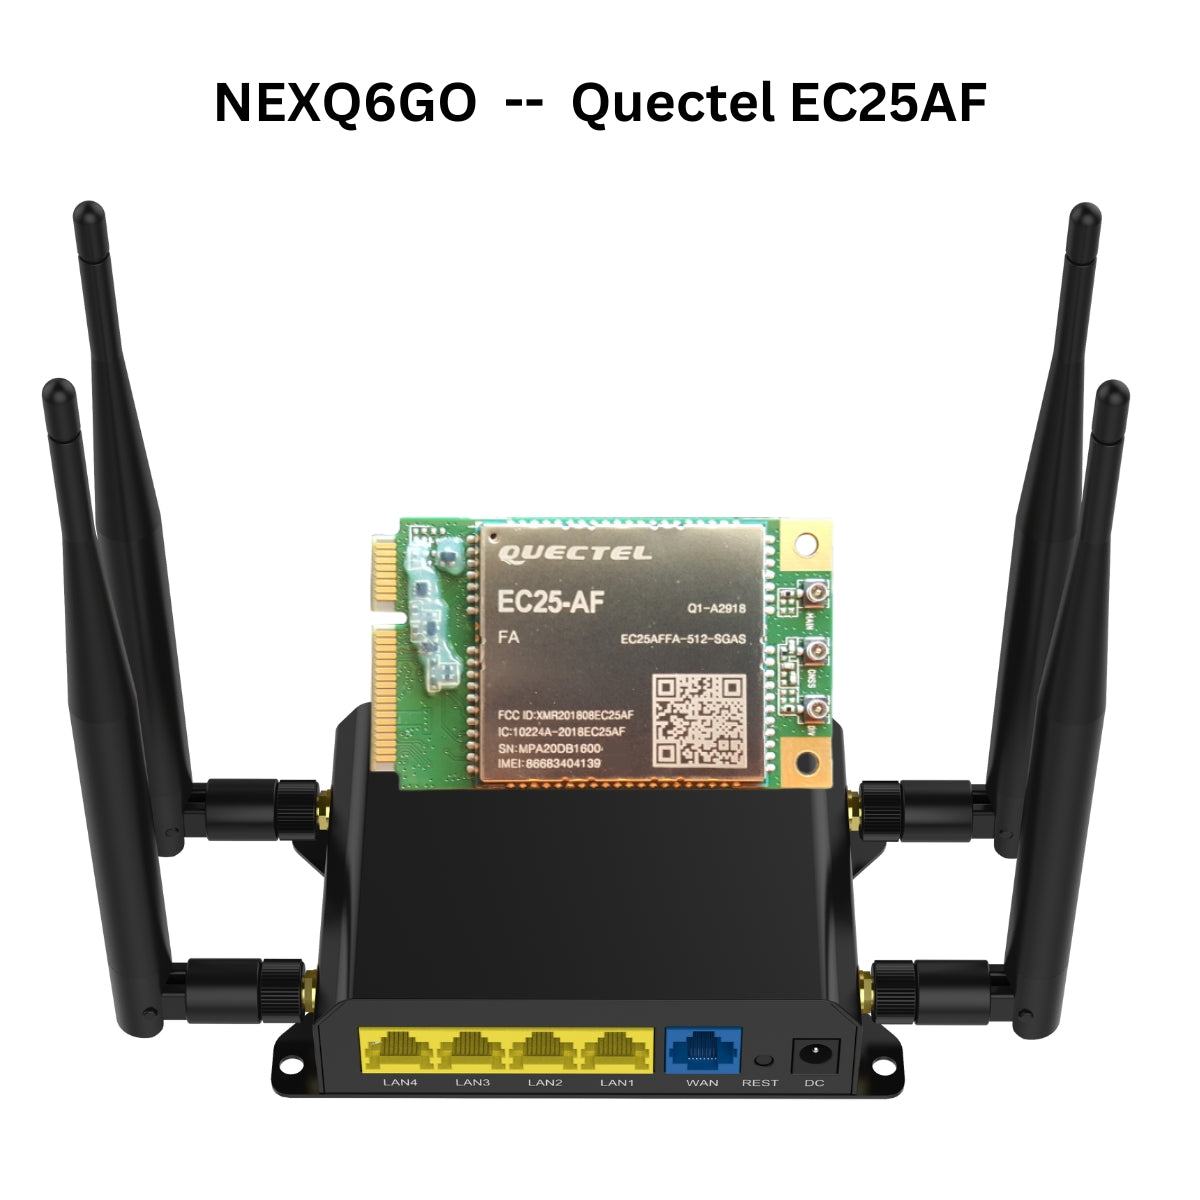
The "U" version is equipped with U.FL connector pigtails for use on a Mini PCI-E modem.
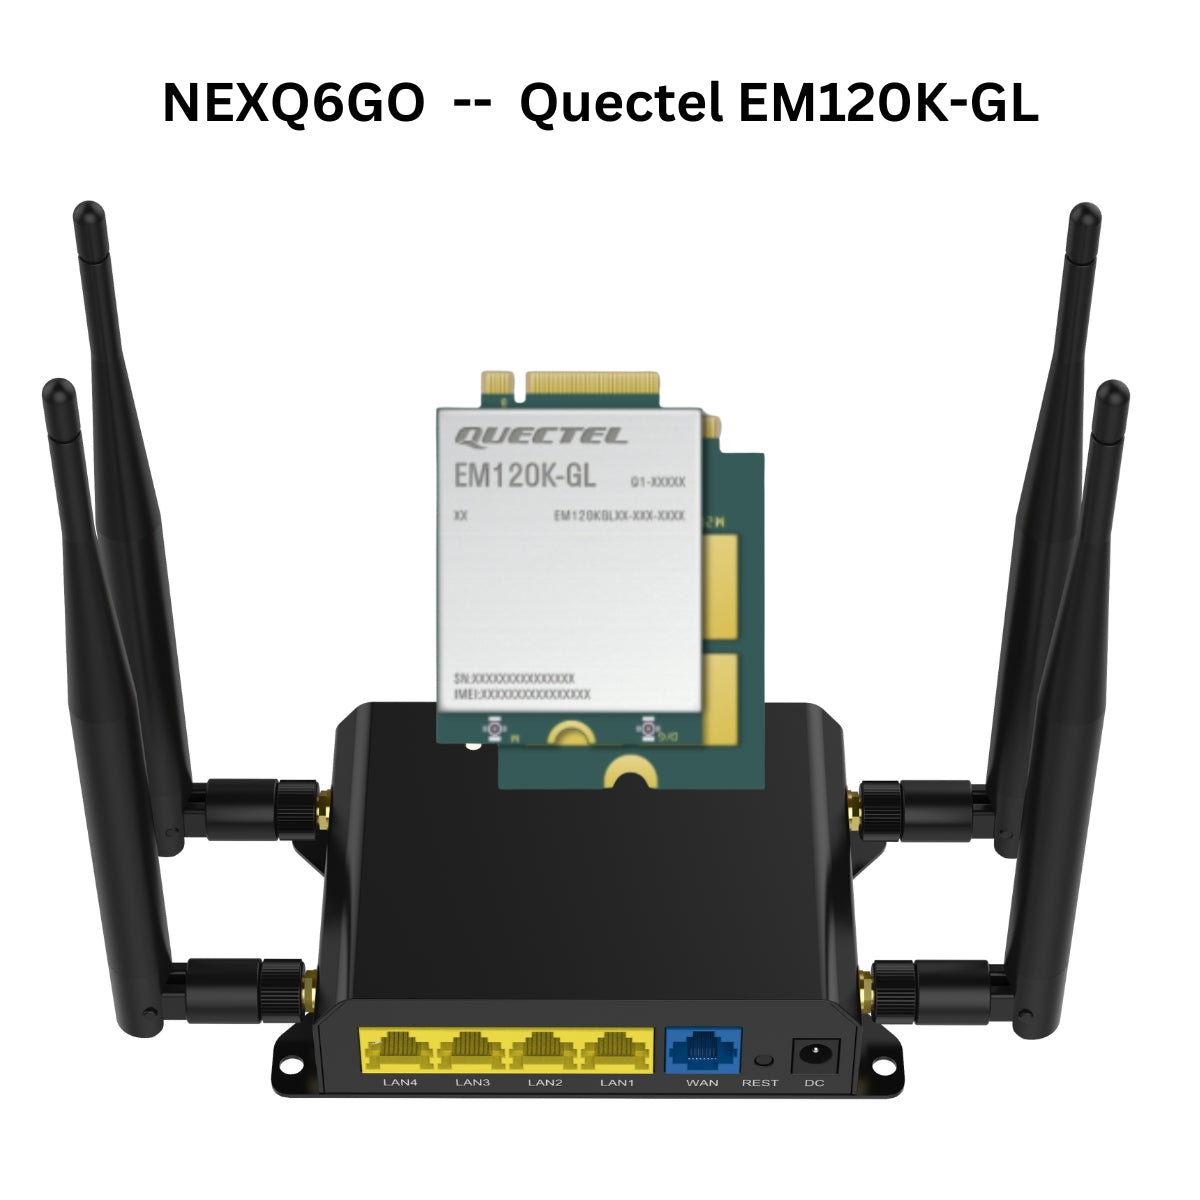
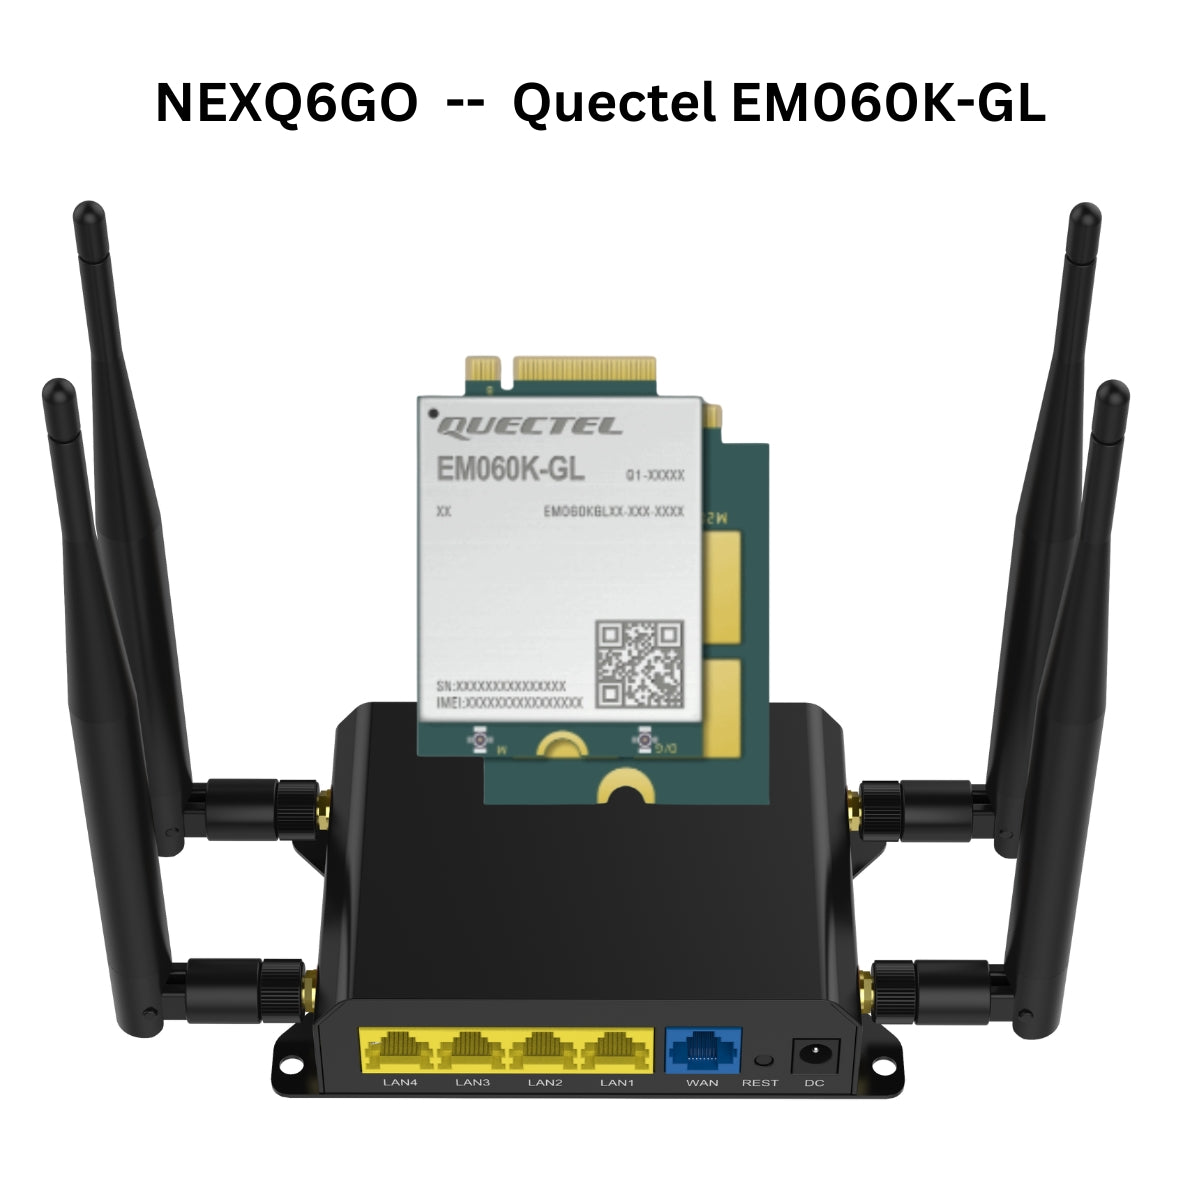
The "M" version is equipped with MHF4 connector pigtails for installing a M.2 modem. A Mini PCI-E to M.2 adapter is required for a M.2 modem (see below).
This listing for the NEXQ6GO is just a router, and requires a modem for cellular internet. See our modems section for different modem options.
Please refer to our Tutorial for instructions configuring the WiFiX firmware/software for cellular service.
NOTE: Cellular service providers may require activating a specific data plan to use on a cellular internet device. The carriers are constantly updating and/or modifying existing cellular plans. It is the customer’s sole responsibility to assure a compatible cellular plan is available prior to purchasing cellular related components.
POWER ADAPTER AND UPGRADE OPTION:
Our WiFiX NEXQ6GO routers include a 2 Amp Power Adapter after determining that 1 Amp is insufficient when using the Sierra Wireless MC7455 modem under load--which may result in both WiFi and service disconnection issues.
We strongly recommend upgrading to our top quality 12V 4A (30W) power adapter when using the Sierra Wireless and/or Quectel CAT12/CAT20 modems. The importance of providing adequate power to the router and its modem must not be underestimated.
ACCESSORIES:
The SIM card slot on the router uses a Standard sized SIM card, and a SIM Card Adapter Kit may be also be required. See installation tips below to avoid damaging the SIM Card slot.
MODEM OPTIONS:
CELLULAR ANTENNA UPGRADE OPTIONS:
The NEXQ6GO stock cellular antennas may be upgraded to any of the following cellular antennas:
700-2700MHz 4dBi 4G 5G Hotspot Omni-Directional Antennas (SMA Connectors) PAIR
600-3800MHz Cellular Omni-Directional Paddle Antennas (SMA Connectors) PAIR
ROUTER TUTORIALS:
See our Help Pages for WiFiX firmware tutorials and help.
See this LTE FIX IT tutorial for general information on building and configuring an LTE router and modem.
WIRELESS (WIFI) OVERVIEW:
The WiFi supports IEEE802.11 N/G/B/A protocol with a maximum wireless rate of 300 Mbps. It is equipped with two (2) removable RP-SMA 5dBi high gain WiFi antennas for better coverage and performance in large areas.
Some users for home installations for family/multiple users/devices, may discover the NEXQ6GO is best used strictly as the modem/gateway (to provide the internet) and connected to a quality dual band (2.4/5GHz) WiFi router or Access Point to provide the WiFi component. The NEXQ6GO would be then be connected via an Ethernet cable from one of the LAN ports on the NEXQ6GO to the WAN port on the WiFi router or Access Point.
SOFTWARE OVERVIEW:
Our WiFiX version of GoldenOrb (based on OpenWRT) comes pre-installed on the NEXQ6GO which may be easily upgraded to other custom OpenWRT based firmware.
SIM CARD INSTALLATION AND TIPS:
It is important to insert the SIM Card into the router correctly to avoid bending and/or damaging the internal pins and spring in the router's SIM Card Slot.
It is equally important when using a SIM Card Adapter, that the SIM Card is properly seated into the adapter to avoid damage to the SIM Card slot components.
DISCLAIMER: Damage to the SIM Card slot, its spring and pins, are NOT covered under warranty.
See below for proper SIM Card and Adapter preparation and installation.

The SIM Card installs into the NEXQ6GO with the metal surfaces facing up. The cut corner of the SIM Card is inserted into the SIM Card Slot.
TIPS:
When using a SIM Card Adapter, the SIM Card MUST fit correctly into the adapter. This will:
- Help prevent damaging the SIM Card Slot internal components, and,
- Help to eliminate disconnect issues that can occur when the router warms up to operating temperatures.
To assure the SIM Card is seated into the SIM Card adapter correctly, all the tits/tabs on the four sides of the SIM Card MUST be removed. This is accomplished by laying an Emory board or fine piece of sand paper flat on a table and gently working each side of the SIM Card back and forth to sand off the tits/tabs.
The SIM Card should fit into the adapter with ease, not loose but not tight. Otherwise, when pushed into the router, the SIM Card can tilt ever so lightly on one end (or side), causing damage to the pins in the SIM Card Slot and/or the pins not making adequate contact with the electronic contact chip. This bad connection can worsen as the router warms up.
Check the SIM Card closely for any signs of damage. If SIM Card is bad, worn or dirty from swapping it in and out of devices, clean the SIM Card’s electronic metal chip with an alcohol pad and refrain from touching the metal chip area during re-installation. A pencil eraser may also be helpful to gently clean the metal contact scratches.


